
Part 1 – Painting surfaces and grounds
The starting point for any painter is feeling inspired and moved to paint a particular subject matter. That is the exciting part!
Equally important but far more prosaic are the series of practical choices we make about how to transform our vision into reality. Having decided about size and proportions, the next step is to choose and prepare a painting surface. I paint on a variety of surfaces including paper, plywood, MDF, canvas board, and stretched canvas. They all have advantages and disadvantages in terms of cost, texture and appearance: paper is cheap to buy, but needs mounting or framing for display; stretched canvas is more expensive to buy, but can be hung without framing. My preference is for a surface which is firm but not too bulky or heavy, so canvas board is usually a winner.
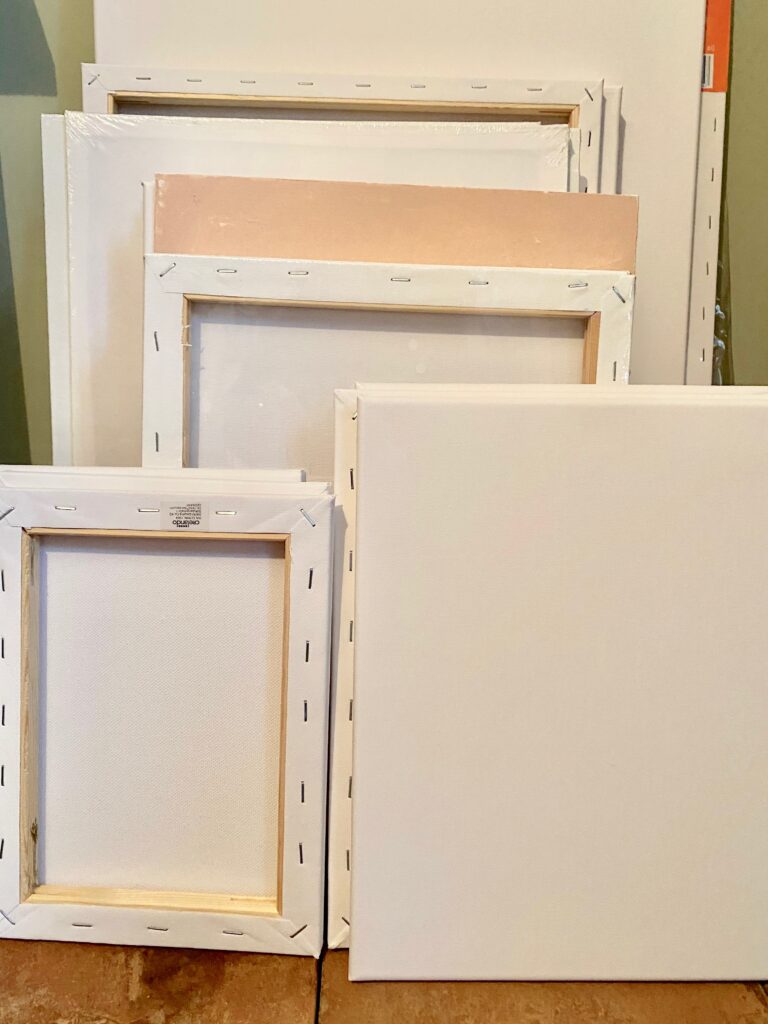
A selection of canvasses and boards 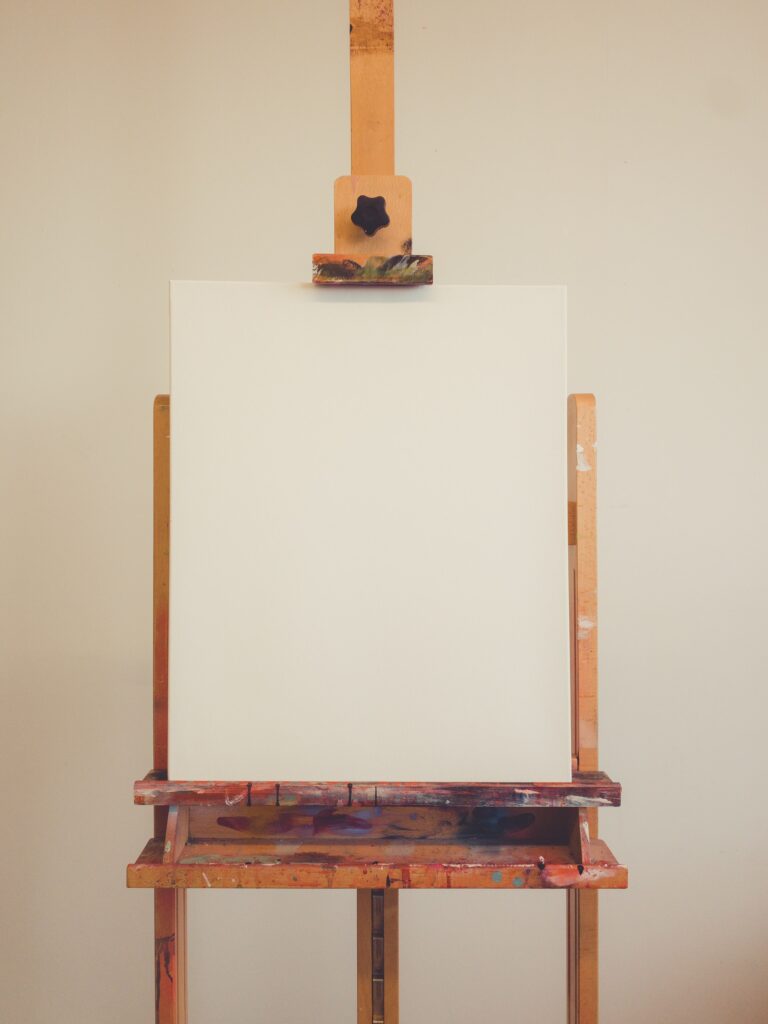
A scary white canvas!
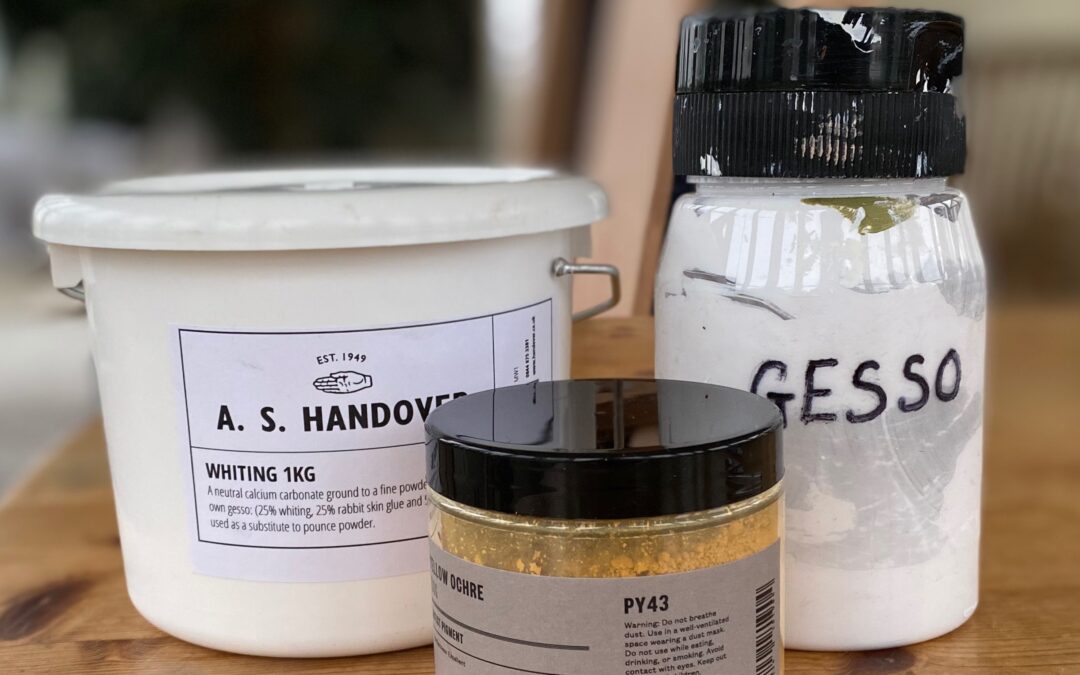
More important for me is the preparation of the painting ground. I make my own gesso from a mixture of white acrylic paint and whiting (powdered chalk), which I can use to create texture if required, by using a palette knife or coarse bristled brush. Adding extra whiting creates a short ground which helps the paint to dry more quickly. I also have the option of colouring the gesso to create a “bole” by using powdered pigment in place of the some of the whiting. This creates an opaque base painting layer: I often choose venetian red for figure painting or yellow ochre for landscapes.
More often I use plain white gesso to prime my boards, followed by a translucent layer of dilute paint to provide a base colour or imprimatura. I rarely paint onto a pure white surface, partly because it is how I have been taught and partly because a white canvas feels far too daunting. Look closely at any of the old masters and you will be able to spot their imprimatura glowing through from under the later, more opaque layers of the painting.
In my next post I will explain how I paint in oils using the ébauche method, so watch this space….
Recent Comments